I previously wrote about making a sea board, and I’ve also written about making some large land tiles. This post I’m going to talk about making islands; you might have seen these before in battle reports here on E270. I had previously posted this article on my old Blog Castle By Moonlight, so if you think you’ve seen it before there, you’re correct!
Really, I wasn’t so creative as to have conjured the methods for making these from the air, I took the ideas from two places – the ideas for the forests were taken from this wonderful post over at the Spartan Games website. The ideas for the islands were taken from the Dystopian Wars Australia group on Facebook (and I’ll henceforth refer to them as Lewis islands for that reason).
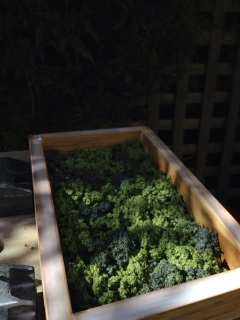
So, after reading both these posts I decided to make my own islands. firstly I made a frame for the forest foliage, filled it with Woodland Scenics clump foliage, and liberally soaked it in PVA.
 |
| A nice mix of dark and light to add some variation. |
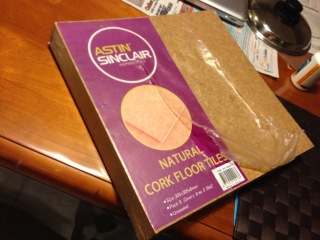
I then purchased some cork tiles, and by a mixture of tearing them with my hands and pliers, and cutting them to have a bevelled edge with a craft knife, I had the following:
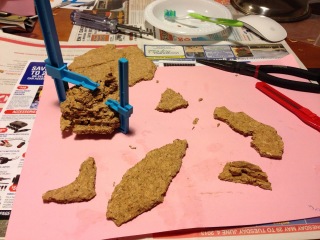 |
| The islands in the foreground – a mixture of cut edges and torn edges – the cut edges will be painted as the rest of the island, while the torn sections will be painted as rock. |
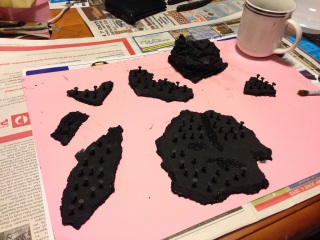
I had to decide how to manage the forests. Being cork board I decided to use some small wood tacks – press them into the cork far enough to hold but not all the way through.
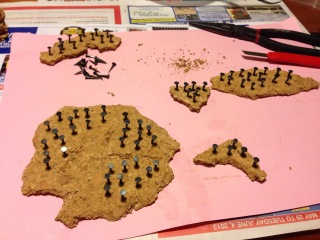 |
| The flat top surfaces of the tacks would be a good base for the glue that would hold the foliage to the trunks. |
An undercoat in black later:
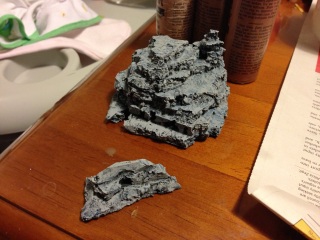
The rocks were drybrushed in successively lighter layers of gray, from dark to light, and finally a very light drybrush of white.
 |
| The final coat of white really helps to delineate the edges and make the whole thing look better (in my opinion). |
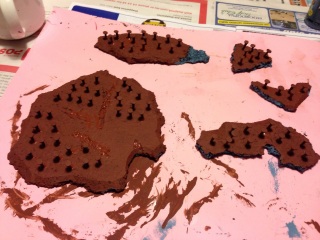
The islands on the other hand received a heavy coat of a rich dark brown:
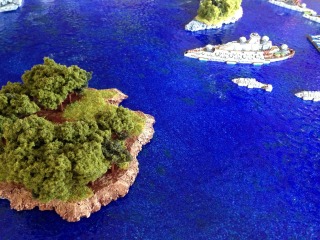
I then drybrushed, heavily and progressively lighter with different shades of brown. Finally a light flesh tone. Of course – the rock was done the same as the rocks above. Finally I added some static grass:
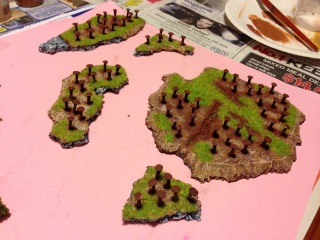 |
| On the largest island here I left a large open area, eventually I’ll grab some Spartan town pieces to add there – just a manor house I think… |
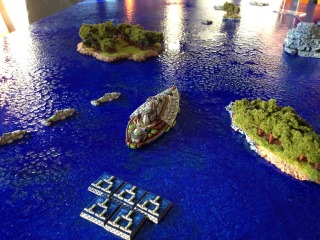
Finally I used some Woodland Scenics Hob-e-Tac glue – on top of each tack head. Then once this had set sufficiently I pulled the foliage I had made earlier apart and pressed it onto the tack heads. I tried to get some nice variation in tone across the islands, and I think they came up very nicely.
Well – that’s that for now. Thanks to the guys on the Spartan forums and DW Australia for the inspiration! I think my Lewis class islands came up well! If you use a different approach or material for your island building I’d love to read about it – let me know, either as a comment here, via email (element270podcast@gmail.com) or on our Facebook group.









Very cleaver idea! Although I’m all 28mm at the moment, I’ll definitely be keeping this one in my pocket! 🙂
It’s a pretty darn flexible material – so could easily be used to make floor tiles or something for a skirmish game at a bigger scale! Thanks Jason!
Great article Giles
Thanks mate!